|
| Designafriend doll |
 |
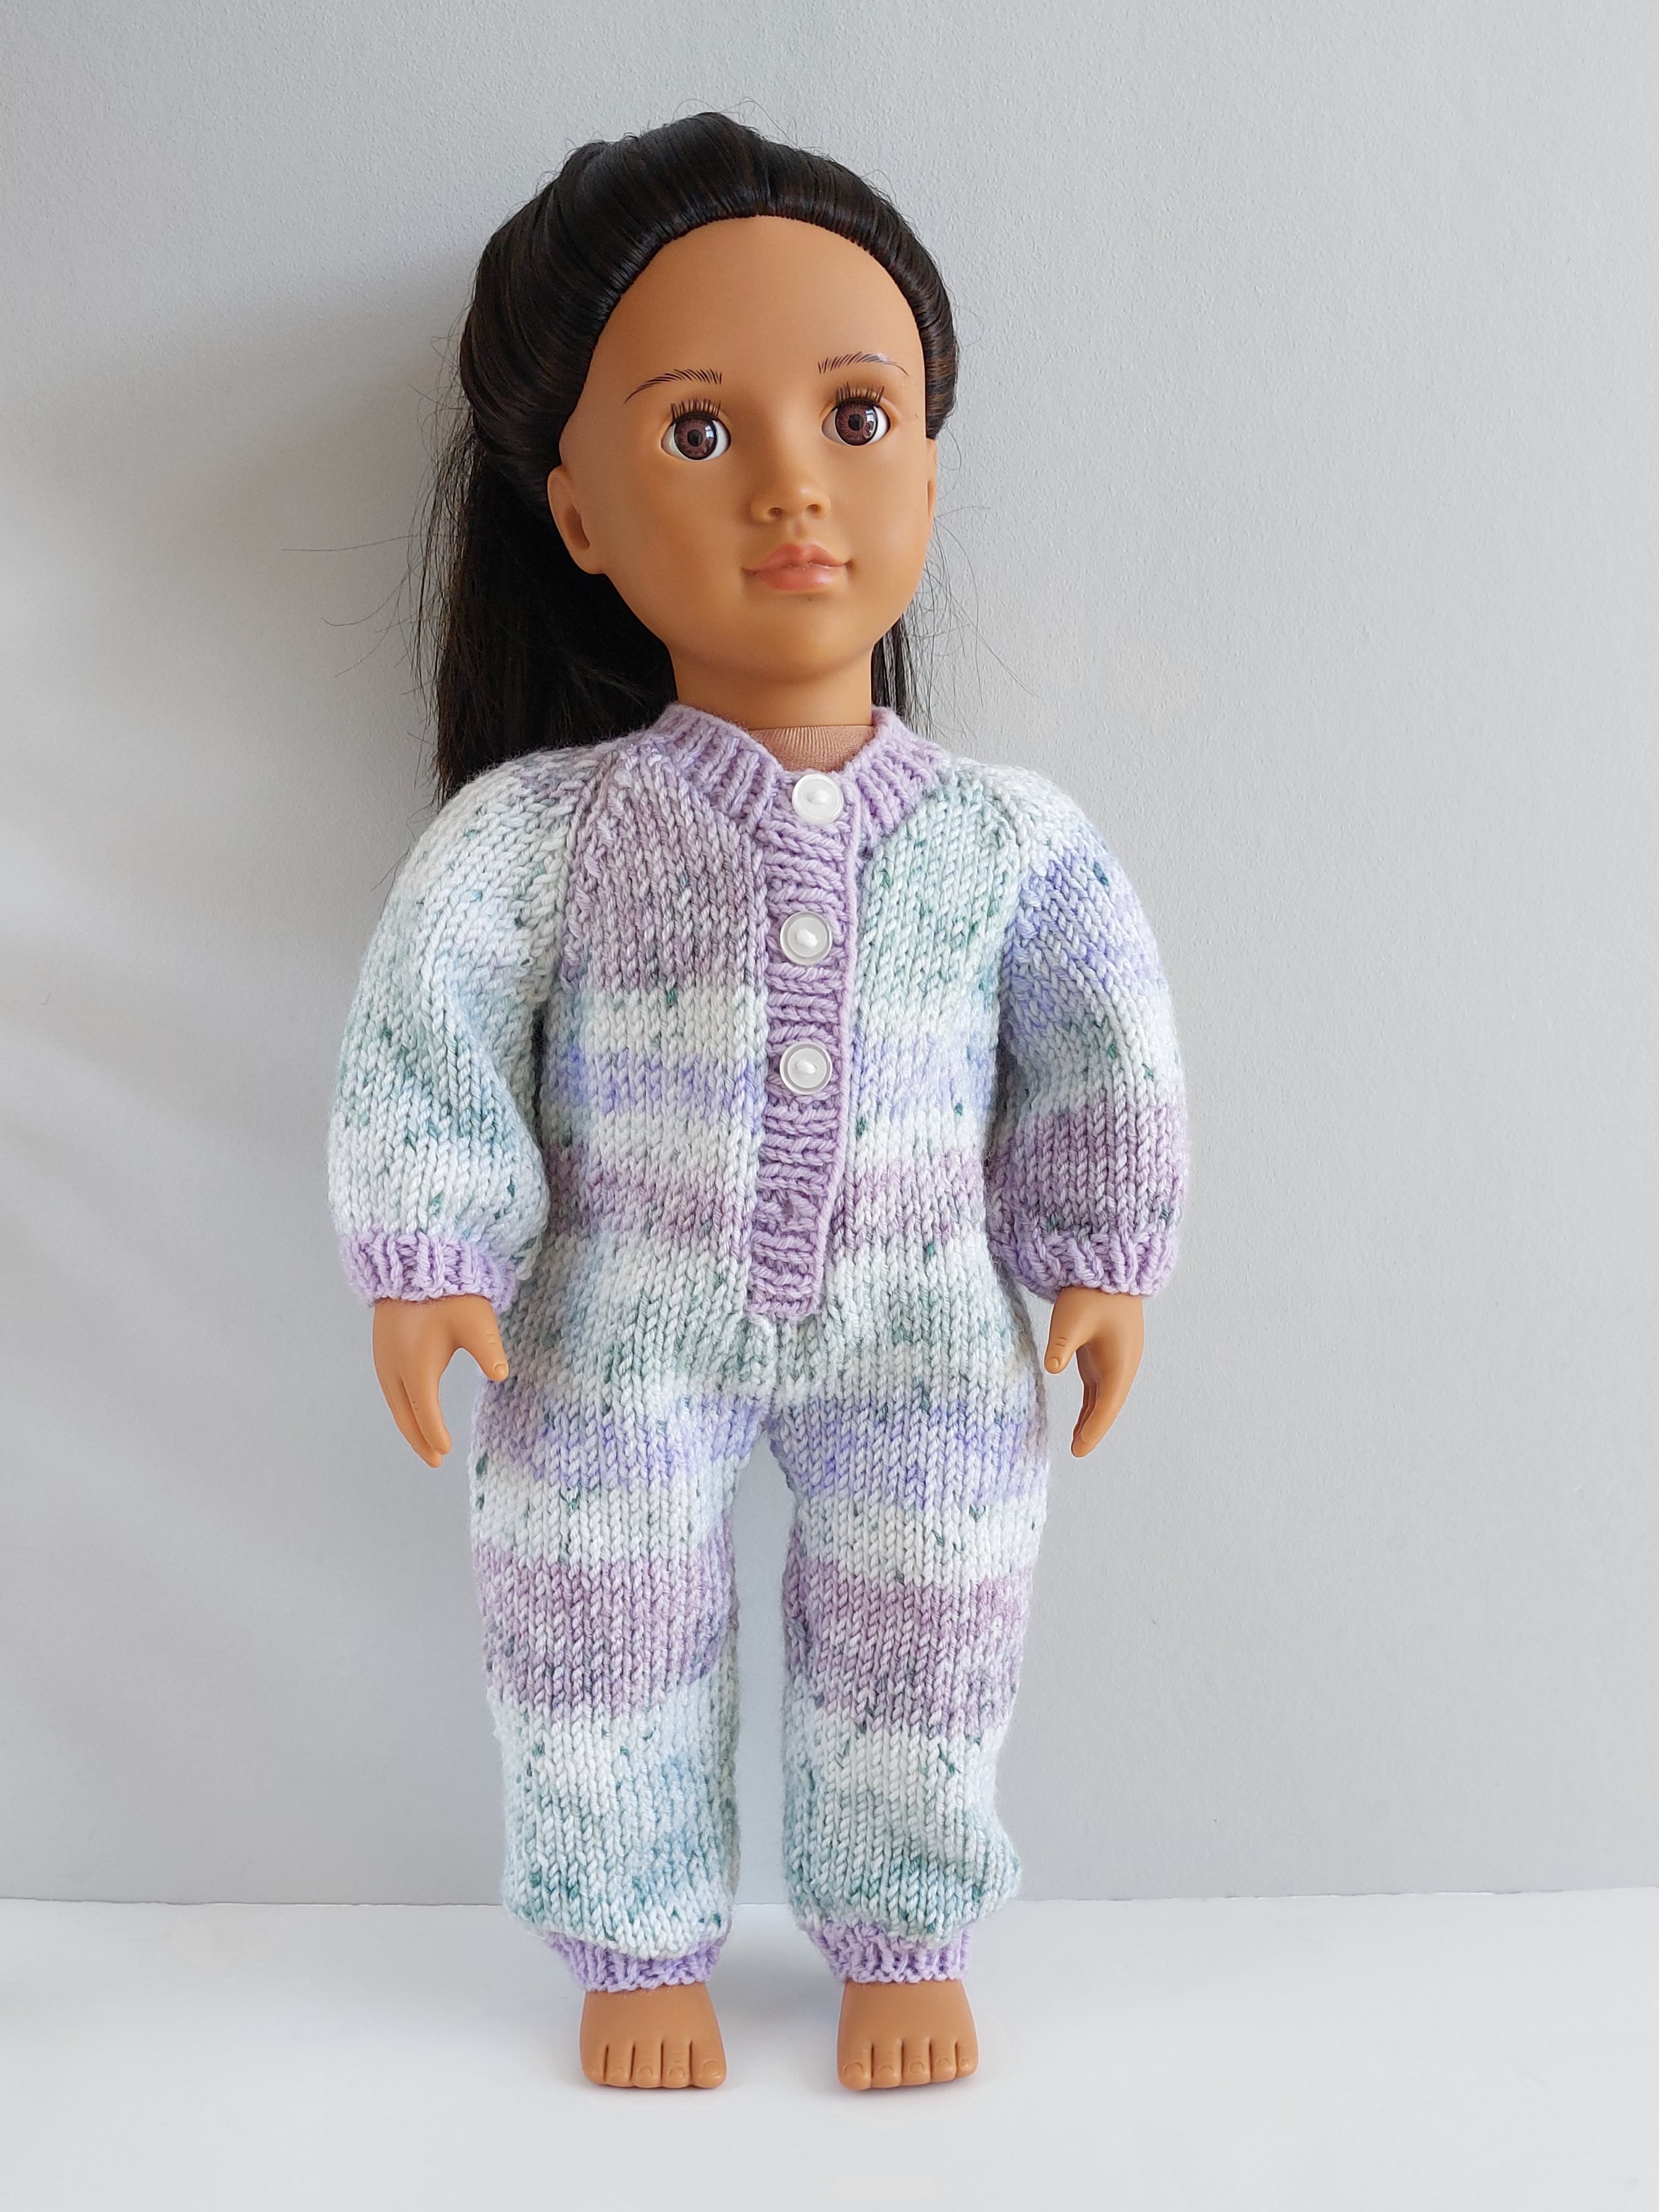
| My Generation doll |
These are my two 18in dolls in their new ribbed sweaters. Its a nice easy pattern, the back and front is made in one piece (see photo) with the sleeves picked up at the shoulders and a button fastening at the back for ease of fit. Its a bit fiddly with all the colour ends so leave a longish strand when changing colour for sewing the sleeve and side seams and, if I'm honest, usually end up knotting other ends where possible.
This pattern has been tested thanks to my sister, but mistakes can so easily slip by when transferring to my blog. So please, if you find any mistakes or have any other query let me know in the comments section below. Thanks and happy knitting.

Actual measurements Chest 14”/36cm, length from shoulder to hem
7”/18cm, sleeve seam 3”/8cm
You will need: 20g dk colour A, 10g for each colour B and C, 4mm straight needles, 1 small button
Abbreviations
k: knit, p: purl, st(s): stitch(es), tog: together, yrn: yarn round needle, inc: increase, patt: pattern, sl: slip st, psso: pass slipped stitch over
Tension (Gauge):
24sts x 32 rows using 4mm needles over rib pattern
24sts x 32 rows using 4mm needles over rib pattern
Using 4mm needles and colour A cast on 43sts
Row 1 k1, p1 to last st, k1
Row 2 purl
These 2 rows form the rib pattern
Work 16 more rows in pattern
Fasten off colour A and change to colour B
Work 18 rows in pattern, place a marker at each end of row 14
Fasten off colour B and change to colour C
Work 10 rows in pattern
Row 1 k1, p1 to last st, k1
Row 2 purl
These 2 rows form the rib pattern
Work 16 more rows in pattern
Fasten off colour A and change to colour B
Work 18 rows in pattern, place a marker at each end of row 14
Fasten off colour B and change to colour C
Work 10 rows in pattern
Shape Neck
patt 17, cast off 9sts in rib patt, patt 17
Turn and continue on 17sts for right side
Row 1 purl
Row 2 k1, sl, k1, psso, patt to end 16sts
Row 3 purl
Rows 4-5 repeat last 2 rows 15sts
Rows 6-11 6 rows in patt
Row 12 cast on 8sts, (k1, p1) to last st, k1 23sts
patt 17, cast off 9sts in rib patt, patt 17
Turn and continue on 17sts for right side
Row 1 purl
Row 2 k1, sl, k1, psso, patt to end 16sts
Row 3 purl
Rows 4-5 repeat last 2 rows 15sts
Rows 6-11 6 rows in patt
Row 12 cast on 8sts, (k1, p1) to last st, k1 23sts
Row 13 buttonhole, purl to last 2sts, yrn,
p2tog
Rows 14-25 12 rows in patt
Fasten off yarn
and leave 23sts on a holder
Left Side
With
colour C and wrong side facing rejoin yarn to remaining sts
Row 1 purl
Row 2 patt to last 2sts, k2tog 16sts
Row 3 purl
Row 4-5 repeat last 2 rows 15sts
Rows 6-12 7 rows in patt
Row 13 wrong side facing, cast on 8sts, k1, purl to end 23sts
Row 14 patt 20sts, k3
Row 15 k1, purl to end
Rows 16-23 repeat last 2 rows 4 times
Row 24 patt 20sts, k3
Row 25 cast off 3sts purl to end 20sts
Fasten off colour C and change to colour B
Join pieces
With right side facing patt across 20sts of left side, then continue across 23 sts of right side 43sts
Work 17 rows in patt, place a marker at each end of row 4
Fasten off colour B and change to colour A and work 18 rows in patt. Cast off in rib pattern
Sleeves
Using 4mm needles, and colour A, with right side facing, pick up and knit 37sts evenly between markers around armhole edge.
Next row purl
Beginning with the first row of pattern, and continuing with pattern, decrease 1 stitch at each end of row 7 then every following 6th row to 31sts. Work 2 more rows in patt. (a total of 24 rows for sleeve) Adjust length here if you want
To finish
Sew sleeve and side seams. Sew edge of placket to back of back opening. Sew on button to match buttonhole
 |
| wrong side of back opening |